
Frustrating your every attempt to access it, ‘Invalid partition table’ can be a real headache. Whether you’re trying to boot up or installing new hardware, the system won’t let you in without solving this pesky problem first- giving way for major tech woes!

Have you been experiencing issues with your computer? Whether it’s a Dell or another manufacturer, there are solutions available to help get things back up and running. From specific options tailored for users of the popular Dell brand to more generalized remedies that could work across any machine – investigate further and find what works best for you!
What causes the ‘Invalid partition table’ error?
When the partition table on a computer is corrupted or unrecognizable, it can cause serious issues. Without this important data, your PC won’t know where to find its different sections – leading to errors that could range from minor inconveniences all the way up to lost information and chaos! Causes of these problems include viruses or other malicious software programs as well as incorrectly formatting disks during installation.
Installing an SSD into a Dell device can lead to the “partition error” if its BIOS is outdated. To bypass this issue, make sure you are up-to-date with your system’s BIOS!
When a system contains multiple partitions, the cause of this error can be traced to one partition marked as active – when only one should exist. To remedy it, simply disable any additional non-Master Boot Record containing partitions and get your machine running smoothly again!
An outdated boot mode or disabled Secure Boot could be causing your computer to experience dreaded startup errors. Upgrade to UEFI and turn on Secure Boot for modern, optimized system performance!
When the Master Boot Record is corrupted it can prevent your computer from booting properly. This issue could arise in several situations, such as viruses attacking data or a power surge disrupting operations. No matter what causes this error, you may be stuck in an endless loop of frustration trying to get things back up and running!
Hard Drive Basics
Your digital life is held safe and sound within the mysterious magnetic fields of hard drives. This storage technology has provided reliable information protection since its inception in the 1980s, transforming society’s access to personal computing forever!
With the help of partitioning, you can easily break up the hard drive into individual chunks to keep your data and media secure. Each section is assigned its own space on a separate segment of the drive, making it easier -should an issue arise- to pinpoint which portion has been corrupted instead of risking all stored information. Not every user needs this type of separation but having at least one partition with a dedicated table makes organizing files simple!
At the core of every hard drive lies an essential record-keeping system: The partition table. This all-important 16 byte entry holds vital information, such as which is your computer’s designated system partition (usually 64 bytes) and can support up to four partitions at once. Nestled in the same sector as its partner -the Master Boot Record– this inconspicuous but important table sits as guardian over all that data you keep safe on your machine!
SSD vs HDD
The digital storage landscape has changed drastically in the last decade with solid state (SSD) technology taking center stage. Consumers are increasingly replacing their older HDD models and opting for newer, more efficient SSDs; soon enough HDDs will be a thing of the past as modern computing continues its transition to wholeheartedly embracing this advanced form of data storage!
Upgrading to a solid state drive does more than just improve your computer’s speed – it can seriously help in avoiding the “invalid partition table” error, which plagues many users when installing their new SSD. Flash memory chips connected together create an incredibly efficient and robust way of storing data that far surpasses what traditional hard disk drives are capable of. With up to ten times faster reads/writes (meaning all those games you love will load plus much quicker!), investing in quality storage is always worth every penny!
Proven solutions to the ‘Invalid partition’ table error for Dell machines
If you’re looking to upgrade your Dell computer or laptop, such as by changing the hard drive or operating system, there is a potential pitfall that may emerge. Fortunately though, this issue can be addressed through careful troubleshooting techniques – we’ve put together step-by-step instructions so any modifications can go smoothly! Don’t let an unexpected error stop you from enjoying all of the benefits enhanced technology has to offer on your favorite device.
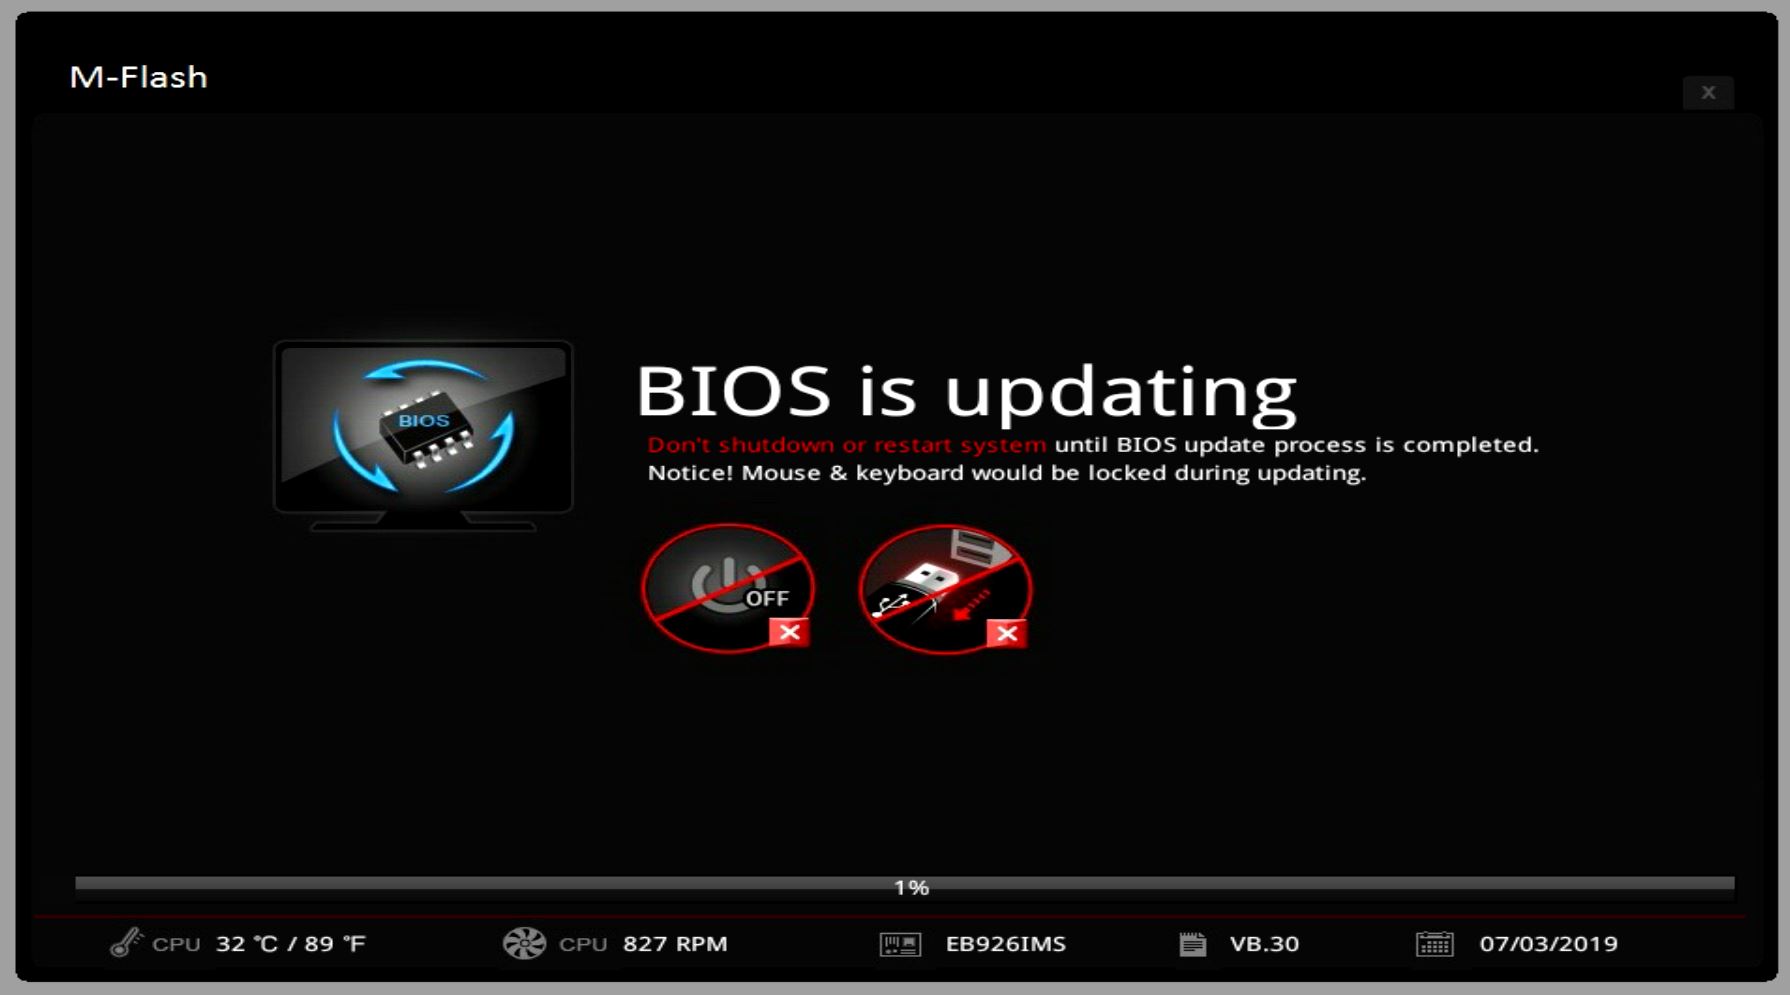
Update the BIOS
A crucial piece of your computer’s architecture, the BIOS on your motherboard, is responsible for guiding it to its operating system. Unfortunately however, an outdated or misconfigured BIOS can lead to errors such as ‘Invalid partition table’, preventing access to vital systems and applications.
Unleash the power of your Dell system, whether it runs Windows 10 or Ubuntu – just use the Diagnostic Deployment Package from Dell. This clever tool creates a bootable USB Flash Drive so you can get going in no time!
If you’re having PC troubles, a flash drive will be your best bet. Find the Dell service tag on either your laptop or desktop and head to their Drivers and Downloads website where they’ll have an updated BIOS version waiting for you! Once installed it should get everything humming along again in no time.
Updating your computer’s BIOS is a breeze! First, select the designated category in order to access the most recent version available. After tapping “Download File,” opt for one single-file download and jot down both its name and unique drive letter – you’ll be needing them soon enough. Finally, transfer this updated version of the BIOS onto an accessible USB stick so it can do its job easily when required.
Ready to restore your computer back to life? Unplug the USB from a secondary system, insert it into your bootless machine and turn it on. As soon as you hear that initial beep, start pressing F12 rapidly – this will open up Boot Device menu where you can select an option for reviving your PC with the USB device!
Installing a BIOS file is the first step to tinkering with your system. Entering the USB device letter and name of the file into command prompt will set up an installation that, once finished, gives you complete access to customize how you use your drive or add in any desired operating systems. Upon completion of this process, get ready for your hardware reboot so it can be put back together – now more tailored than ever before!
Enable UEFI and Disable Legacy Mode
If your Dell computer is running Ubuntu or Windows 10, it’s possible you may be experiencing a partition problem. Locate the UEFI (Unified Extensible Firmware Interface) in place of BIOS software and locate an .EFI file – this should resolve any issues easily, especially for newer computers as they are automatically set to use UEFI!
- Restart your computer and select F12 during the startup process to open the boot menu. You should see the message, preparing one-time boot menu, in the top right-hand corner. The next screen you see will be the BIOS.
- Boot mode should be listed. If your boot mode is set to LEGACY EXTERNAL DEVICES; Secure Boot: OFF or UEFI; Secure Boot: OFF, you will need to continue with the following steps. If your boot mode is set to UEFI; Secure Boot: ON, your system is already correctly configured and you can try another solution.
- Use the arrow keys to move down to BIOS Setup under OTHER OPTIONS.
- Skip this step if you are already in UEFI mode, but Secure Boot is OFF. If your system is using Legacy devices, navigate to General and then Boot Sequence. You can do this using your mouse. Select UEFI under the Boot List Option heading. Click apply and then OK in the pop-up window.
- Select Exit and your computer will restart. You need to navigate back to the BIOS Setup by following steps 1-3.
- Navigate to General and then Advanced Boot Options and make sure Enable Legacy Option ROMs is unchecked. Click Apply.
- Again on the left-side, navigate to Secure Boot and then Secure Boot Enable. Make sure the Secure Boot Enable box is checked. Click Apply and then Exit.
- Your computer will reboot and if the ‘Invalid partition table’ problem is solved, it should boot normally.
Additional fixes for all device brands to troubleshoot the ‘Invalid partition table’ error
With two Dell-oriented solutions proving ineffective, a third option was introduced that could solve any device’s invalid partition table error. This fix transcended brands and provided a universal solution!
Disconnect External Drives
Could an extra hard drive be causing your computer to become overwhelmed? Connecting external storage devices may cause confusion for even the most advanced systems – it’s a surprisingly common issue, but luckily also simple to troubleshoot.
When starting up your computer, ensuring the correct boot order is crucial. Without it, your external hard drive will be looked to as a source of an operating system – yet with no OS installed on that device you’re likely to receive the dreaded ‘Invalid partition table’ warning. Don’t panic though; simply unplugging the external and restarting should do the trick!
Check and Fix Active Partitions
For Windows 10 users, Microsoft has provided a helpful tool to avoid the dreaded “Invalid partition table” error. Diskpart enables you to make sure only one of your partitions is active; this ensures that your computer will always have a clear boot path!
If you’re looking to install Windows 10, there are a few ways to go about it. Of course, if your computer came with an original version of the software then that’ll work just fine – but don’t worry if your machine doesn’t have a CD drive! You can easily make up for this by downloading and using the official installation media tool onto 8GB USB flash drive. To ensure everything goes off without any hiccups though should probably be done on another device; simply follow best practices at the bottom of Microsoft’s site and before long you’ll be all set!
Once you have your Windows 10 installation media USB device:
- Turn your computer off and plug in the Windows 10 installation media. Restart and select F12, F2, Delete, or Esc (depending on the manufacturer) if the PC does not automatically boot using the USB device. This will open the boot menu.
- Select your language, timezone, and keyboard input, then click Repair your computer.
- Click the correct installation drive, which is generally C:\ and then select Next.
- System Recovery Options should appear, here you will select Command Prompt.
- Now we want to select and mark the non-operating system drive, as inactive. In the command prompt, write “diskpart” and press Enter.
- Now type “list volume” and press Enter. If you have two active partitions, you will see two drives with an asterisk(*).
- Your operating system should be on drive C:\, so you want to select the other drive so you can inactive it. Now type “select volume [X]“. Replace the [X] with the volume number that corresponds with the non-operating system drive. Press Enter.
- Write “inactive” to mark that drive as inactive and press Enter.
- You are now able to restart your system to see the ‘Invalid partition table’ error disappears.
Note: If your computer has issues booting, Windows 10’s Automatic Repair feature can help you get back on track. To trigger it, simply hard reset your machine by pressing the power button when you see the blue Windows logo appear; repeated attempts may be required. Once in repair menu mode, select Command Prompt for assistance with checking and fixing any active partition problems that have occurred.
Rebuild the Master Boot Record
Your computer is like the engine of a car – without a functional Master Boot Record, it won’t start at all! Thankfully Windows 10 has you covered with its Recovery Console tool that can help get your machine running again. Unfortunately, malicious software can be responsible for corrupting this crucial record, so keeping up to date on security and antivirus protection is key in protecting yourself from disastrous results.
Rebuilding the Master Boot Record is easy when following these simple steps.
- Insert your Windows installation media, then restart your computer to let it automatically boot with the help of this new software. If that doesn’t work, simply use a few keystrokes on startup – F12, F2 and Delete or Esc – to access special boot options allowing you to choose which drive contains the installation media!
- Once the system boots using the installation media, click Repair your computer.
- In the Automatic Repair window select Advanced options.
- In the Choose an option window select Troubleshoot. Select Advanced Options again.
- Now in the Advanced options window select Command Prompt.
- In the command prompt window, type “bootrec.exe /fixmbr” and press Enter. This will run the Bootrec program and recover the MBR.
- When the command prompt is finished running the commands and you see the message ‘The operation completed successfully’, you can restart your computer to see if the problem is fixed.
‘Invalid partition table’ error solved
If you’ve been having trouble with your Dell machine, chances are a pesky external hard drive is to blame. Luckily, there’s an easy solution: simply modify the boot order and get back up and running in no time!
Facing the dreaded ‘boot error’? Dell users, rejoice! The team at Dell has come to your rescue with their updated BIOS tool and guide. Whether you need a quick adjustment of boot mode from Legacy to UEFI Secure Boot or an inactive partition needs disabling – no problem is too difficult for this user-friendly fix! With these simple steps, your computer should be up and running in no time.
Your hard drive may be in serious trouble. If none of the solutions you tried have worked, there could be bad sectors on your disk or even issues with its partition table and MBR sector causing an ‘Invalid partition table’ error. To get to the root cause, consider replacing your device’s hard drive yourself if possible – otherwise it can’t hurt to seek out a qualified IT expert for guidance!