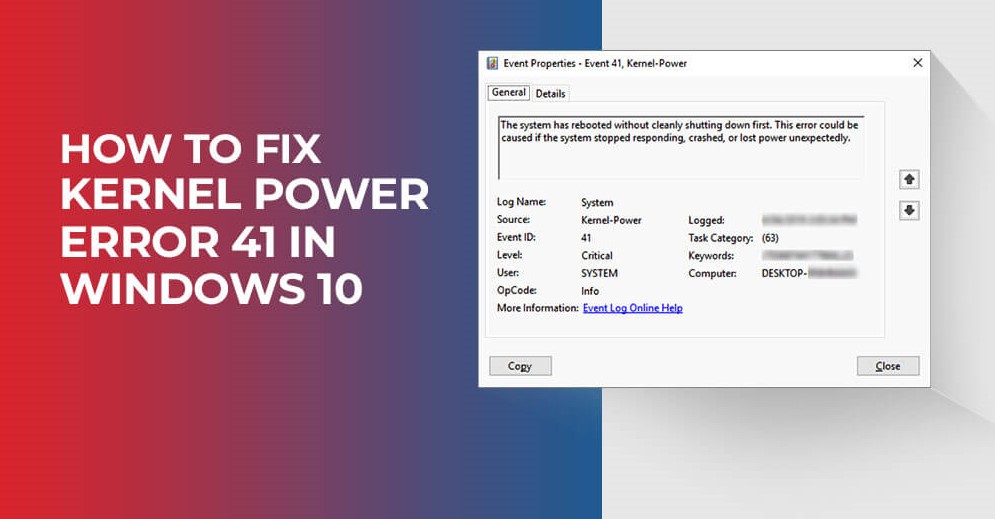
Windows 10 users will be familiar with the pesky kernel power 41 error, that uninvited guest causing system reboots and crashes out of nowhere. But this disturbance is more serious than it seems; if your computer unexpectedly shuts down or refuses to come back from sleep mode, it’s likely a sign of underlying critical issues in your Windows system which need addressing.
What Is Kernel Power 41 Error & Why Is It Critical?
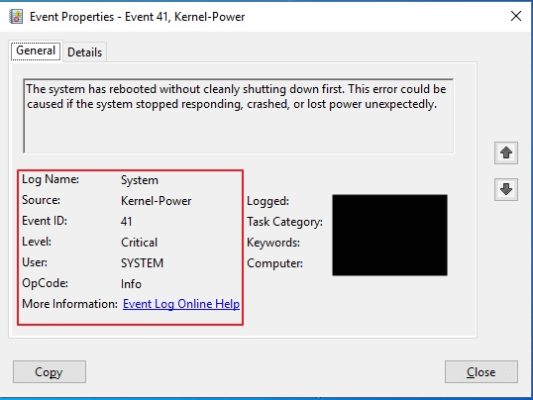
Windows 10 has an alarming critical error known as Kernel Power 41, which occurs when your system fails to complete its normal shutdown process. This can be caused by a crash, power outage or restart and is indicative of underlying instability that could compromise the performance of your computer.
What Causes the Kernel Power 41 Error?
A wide variety of factors can lead to the dreaded “power supply unit” error, such as outdated drivers, a failing PSU or RAM hardware issues. The most common root cause, however is an insufficient power source which causes your system to overheat and shut down unexpectedly.
9 Methods to Fix the Kernel Power 41 Error
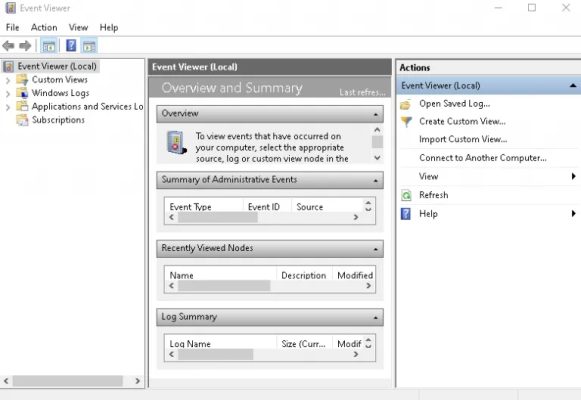
Before you try any solutions, take a quick peek into your computer’s event viewer to check if the troublesome kernel power 41 error is listed there. If it is, this post presents nine potential fixes that could help resolve the issue!
1. Update All Drivers
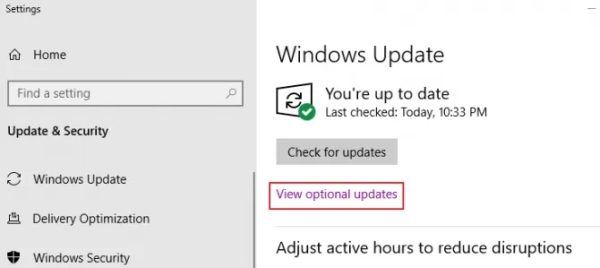
Keep your system up-to-date by ensuring your drivers are current! There are various approaches that can help you stay on top of the most recent releases.
- Keep your computer running smoothly by performing a Windows Update check. Simply type “Windows Update” into the search menu and select “Check for Updates” to scan for any outdated drivers that need updating. To make sure everything is up-to-date, manually update hardware in Device Manager with a few easy clicks – right click on each driver requiring an update and hit ‘update’.
- Keep your drivers up-to-date and worry-free with a third-party updater tool! Intel Driver & Support Assistant, AMD’s Graphics and CPU software, or even the manufacturer’s own downloads provide secure solutions for maximum performance. For audio driver support you may need to go directly through your motherboard’s vendor – otherwise, Windows’ built-in system is there as an option.
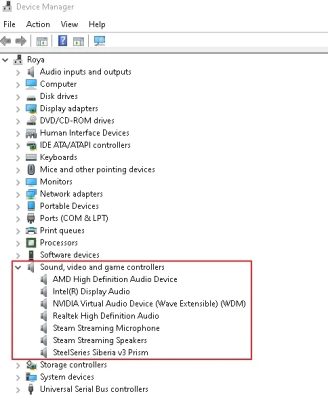
2. Remove Duplicate Audio Drivers
The kernel power 41 error can occur if you have duplicate audio drivers installed.
- Hit Windows Key + X on your keyboard.
- Choose Device Manager from the menu popup.
- In the list, find the “sound, video, and game controllers” option.
- Hit the down arrow to expand the section list.
- Look for duplicate audio drivers.
- Right-click duplicates, hit disable.
3. Uninstall Third-Party Antivirus Software
Struggling with the dreaded kernel power 41 error? If you have a third-party antivirus software installed, try uninstalling it and replacing it instead with Windows Defender. In many cases this simple switch can help clear up any lingering issues!
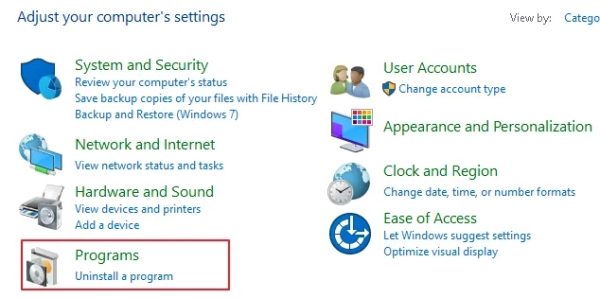
- Type “control panel” into your computer’s search menu.
- Under programs, click “uninstall a program”.
- Find your antivirus in the list and select it.
- Click uninstall at the top.
- Restart your computer when it is done.
4. Change Power Settings
Got some pesky Kernel Power 41 errors? It could be due to the ‘Turn Off Hard Disk’ feature in your power plan. To get rid of it, follow a few simple steps and you’re good as new!
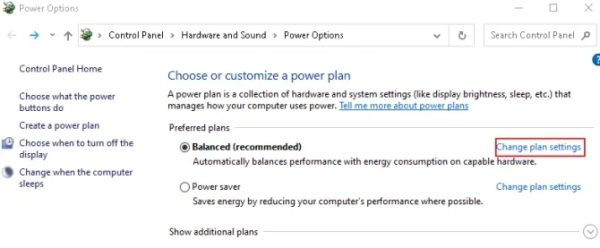
Unlock hidden powers and take your device to the next level! You can access power options for enhanced performance with just a few clicks in your search menu. Select “power and sleep” from the best match results, then choose “additional settings” on the right-hand side of the screen under related. Follow up with clicking on “change plan settings” option beside an enabled power plan to get going – now that’s some serious control over energy efficiency!
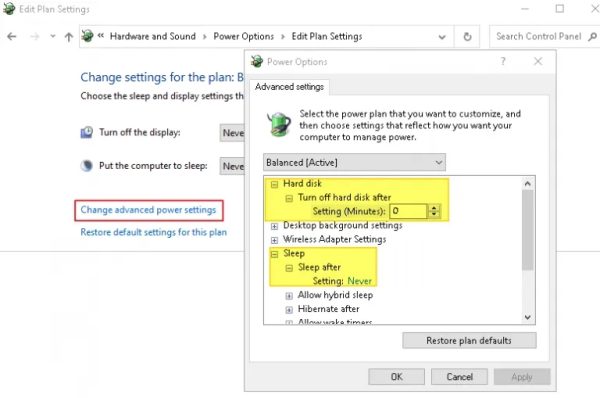
- Now click on the blue link, “change advanced power settings”.
- Find “hard disk” in the menu and turn it off by typing in “0” into the box. Make sure to hit apply!
- Now find “sleep” in the menu and also turn it off by typing in “0”. Make sure to hit apply!
- Hit okay to save your changes and exit out.
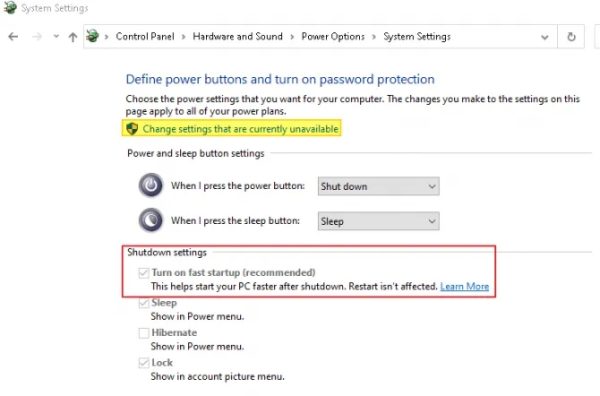
5. Turn Off Windows 10 Fast Startup Feature
Get your work done faster with Fast Startup, but keep an eye out for the pesky kernel power 41 error. It may be lurking due to some parts of your computer not fully powering down while using this helpful feature.
- In your computer’s search menu, type in “control panel” and then click on hardware and sound settings. Choose power options from the list.
- In the left-hand side menu, click on “choose what power button do”.
- Now click on “change settings unavailable,” and scroll down and uncheck the “turn on fast startup” feature.
- Save the changes and exit out.
6. Check for Faulty Hardware
Faulty hardware is a sneaky culprit of the dreaded kernel power 41 error, something many computer users have experienced first hand. Unfortunately, it can be difficult to diagnose this issue as several different hardware problems could potentially cause it, including bad memory sticks or outdated BIOS settings. To ensure you’re not unknowingly running into this irritating roadblock with your PC’s performance and stability, assess any potential hazards before they become more serious!
Malfunctioning hardware components can majorly cause random restarts and kernel power 41 errors. Dust particles on RAM slots, mismatched or frayed connectors for graphics cards and motherboards, as well as an oxidized or aging power supply are all potential sources of trouble that should be checked when experiencing these issues.
If you come across difficulties, put your problem-solving skills to the max and take action! Try a few potential solutions: reseat RAM chips, reconnect power cords, or swap out components that are experiencing performance dips. If any fans in the system have build-up lint/dust but no compressed air is around, just go ahead and exchange them with new ones!
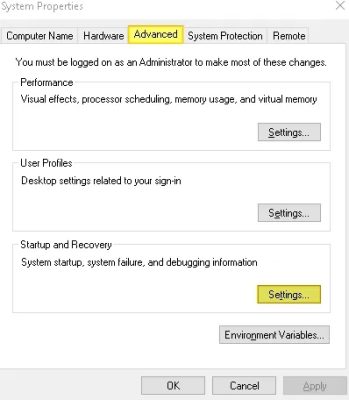
7. Disable Automatic Restart in Advanced System Settings
If you are having errors that keep reoccurring, it may be time to consider disabling the automatic restart feature. This will stop your system from rebooting as soon as a problem appears and allow for more detailed troubleshooting of potential hardware issues.
Unlock the hidden power of your computer by accessing advanced settings! With just a few simple steps, you can take control – start on your search bar and type in “advanced settings”. When prompted with an extensive list to choose from, scroll to “view advanced system settings” at the top of the window popup and click it. Then select the ‘Advanced’ tab where under ‘Startup & Recovery’, hit setting then uncheck automatic restart for complete mastery over machine failure!
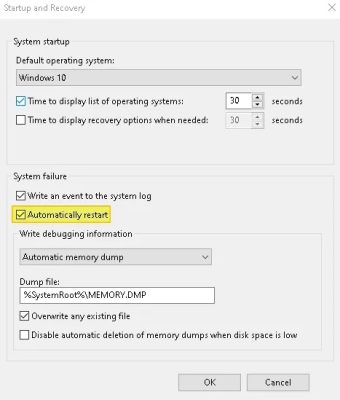
If you opt for this approach, restarts will become less frequent which could potentially fix the kernel power 41 error. However, any new errors that arise won’t be remedied automatically as your computer will not restart to address them.
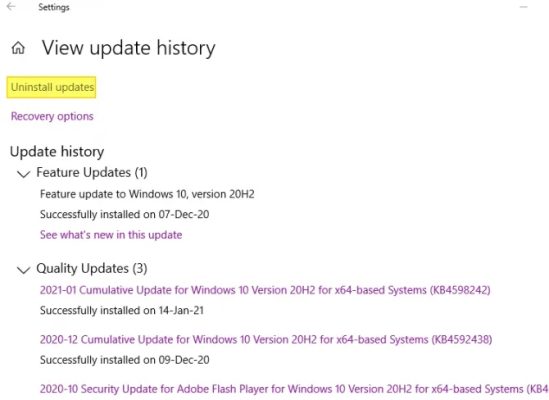
8. Recently Updated Your System? Uninstall
If you’re finding yourself frustrated with the recent system update, try rolling back to before it was installed. That might be your ticket out of a kernel power 41 error
- Hit the Windows Key + I on your keyboard to open settings.
- Click on the “update and security” option from the window.
- Click on the blue link, “view update history”.
- Click on the uninstall updates link.
- Uninstall only the most recent updates and then restart your system.
9. Update Your BIOS
Updating your BIOS involves going through a few extra steps if the simpler methods don’t work for you and you have the technical experience to handle it. To ensure nothing goes wrong in this process, check your motherboard’s instruction manual before doing anything- if that doesn’t give enough guidance or clarity, reach out to your manufacturer support team.